
Spring Security OAuth2 Authorization Server 初体验
好久没有写 Spring Security OAuth2 的文章了,这段时间成长了很多,也发现以前文中存在的一些问题。后面慢慢改成。但是还是很激动的有好消息!
这周六,最让人兴奋的就是 Spring Security OAuth2 Authorization Server 发布了 初版本 0.0.1了!终于盼来了!从当初的宣布不再维护,到听取社区意见进行重写,再到今天发布 0.0.1 第一个小版本,八九个月了,还在使用以前的授权服务器,现在终于有新的东西了!而且还是基于最新的 Spring Security 构建,可以直接无缝接入 Spring Security 中的 OAuth Login、OAuth Resource Server。
虽然不能在生产环境适用,但我们可以先来尝尝鲜!目前已经可以使用的功能如下:
-
OAuth 2.0 Authorization Code Grant — RFC 6749 — 授权吗模式
-
OAuth 2.0 Client Credentials Grant — RFC 6749 - 客户端令牌模式
-
JSON Web Token (JWT) — RFC 7519 - JWT 令牌支持
-
JSON Web Signature (JWS) — RFC 7515 -JWS 令牌支持
-
JSON Web Key (JWK) — RFC 7517 - JWK 端点支持
-
Key Management for providing key(s) when signing a JWT (JWS) — Jwt key 管理
主要涉及到的 RFC
当然对于每个RFC中都是部分实现,还没有完全实现。但是不影响我们体验。
这篇文章适合具有 OAuth2 基础以及 Spring Security 基础的童鞋阅读。
在这之前
初始化项目,使用 Gradle 进行构建
implementation("org.springframework.boot:spring-boot-starter-web")
implementation("org.springframework.security.experimental:spring-security-oauth2-authorization-server:0.0.1"
授权服务器
由于是初版,并没有注解来完成自动化配置,事实上 OAuth 模块迁移以后,都不使用注解来完成自动化配置了。
@SpringBootApplication
public class AuthorizationServerJavaApplication {

  public static void main(String[] args) {
    SpringApplication.run(AuthorizationServerJavaApplication.class, args);
  }

}
添加一个安全配置并导入默认配置
/**
 * Spring security config from authorization server.
 *
 * @author echo
 * @date 2020/8/23 13:56:02
 */
@Configuration
@Import(OAuth2AuthorizationServerConfiguration.class)
public class SecurityConfig  {

  /**
   * Give a client repository.
   *
   * @return RegisteredClientRepository
   */
  @Bean
  public RegisteredClientRepository registeredClientRepository() {
    RegisteredClient registeredClient = RegisteredClient.withId(UUID.randomUUID().toString())
        .clientId("messaging-client")
        .clientSecret("secret")
        .clientAuthenticationMethod(ClientAuthenticationMethod.BASIC)
        // Authorization Code Grant Type
        .authorizationGrantType(AuthorizationGrantType.AUTHORIZATION_CODE)
        // Client Credentials Grant Type
        .authorizationGrantType(AuthorizationGrantType.CLIENT_CREDENTIALS)
        .redirectUri("http://example.com")
        .scope("message.read")
        .scope("message.write")
        .build();
    return new InMemoryRegisteredClientRepository(registeredClient);
  }

  /**
   * Give a default key manager.
   * @return keyManager
   */
  @Bean
  public KeyManager keyManager() {
    return new StaticKeyGeneratingKeyManager();
  }

  /**
   * Give a user.
   * @return UserDetailsService
   */
  @Bean
  public UserDetailsService users() {
    UserDetails user = User.withDefaultPasswordEncoder()
        .username("user1")
        .password("password")
        .roles("USER")
        .build();
    return new InMemoryUserDetailsManager(user);
  }

}
我们在配置文件中做了如下几件事:
-
配置一个内存级的
ClientRepository,他实现了RegisteredClientRepository接口,可以通过实现这个接口完成其他的 store 进行存储客户端信息。 -
配置一个静态的
KeyManaget,初版没有只提供了一个,他的作用应该是为了管理多个 Key 的情况,对不同的应用使用不同的 Key 进行管理而不是所有的 OAuth2 客户端都使用同一个。这个是以前的授权服务器所没有的东西。 -
配置一个默认的用户信息的
Service,这个属于Spring Security的基础了,提供查询用户的服务。
授权码模式
运行项目,然后按照授权码模式进行请求:
-
请求 http://127.0.0.1:8080/oauth2/authorize?client_id=messaging-client&redirect_uri=http://example.com&response_type=code&scope=message.read,在 URL 参数中进行指定客户端 id、授权类型、请求 scope 等。
-
使用用户
user1进行登陆。 -
登陆成功后重定向到指定地址 example.com,其中包含 code 参数如下:
-
获取 code 参数
Yfwoy3Lkuu_pdLPG0ttn50ezbHeDmDLZJrGsZEwuwrY%3D,进行 URL 解码,一定要解码,否则找不到。解码后Yfwoy3Lkuu_pdLPG0ttn50ezbHeDmDLZJrGsZEwuwr=。通过 POST 请求,获取 token。-
编码的这里是一个坑,按照常理应该是由 进行解码的,不然每个客户端都需要自己来解码一遍肯定是不对的。已经提了一个 issue
-
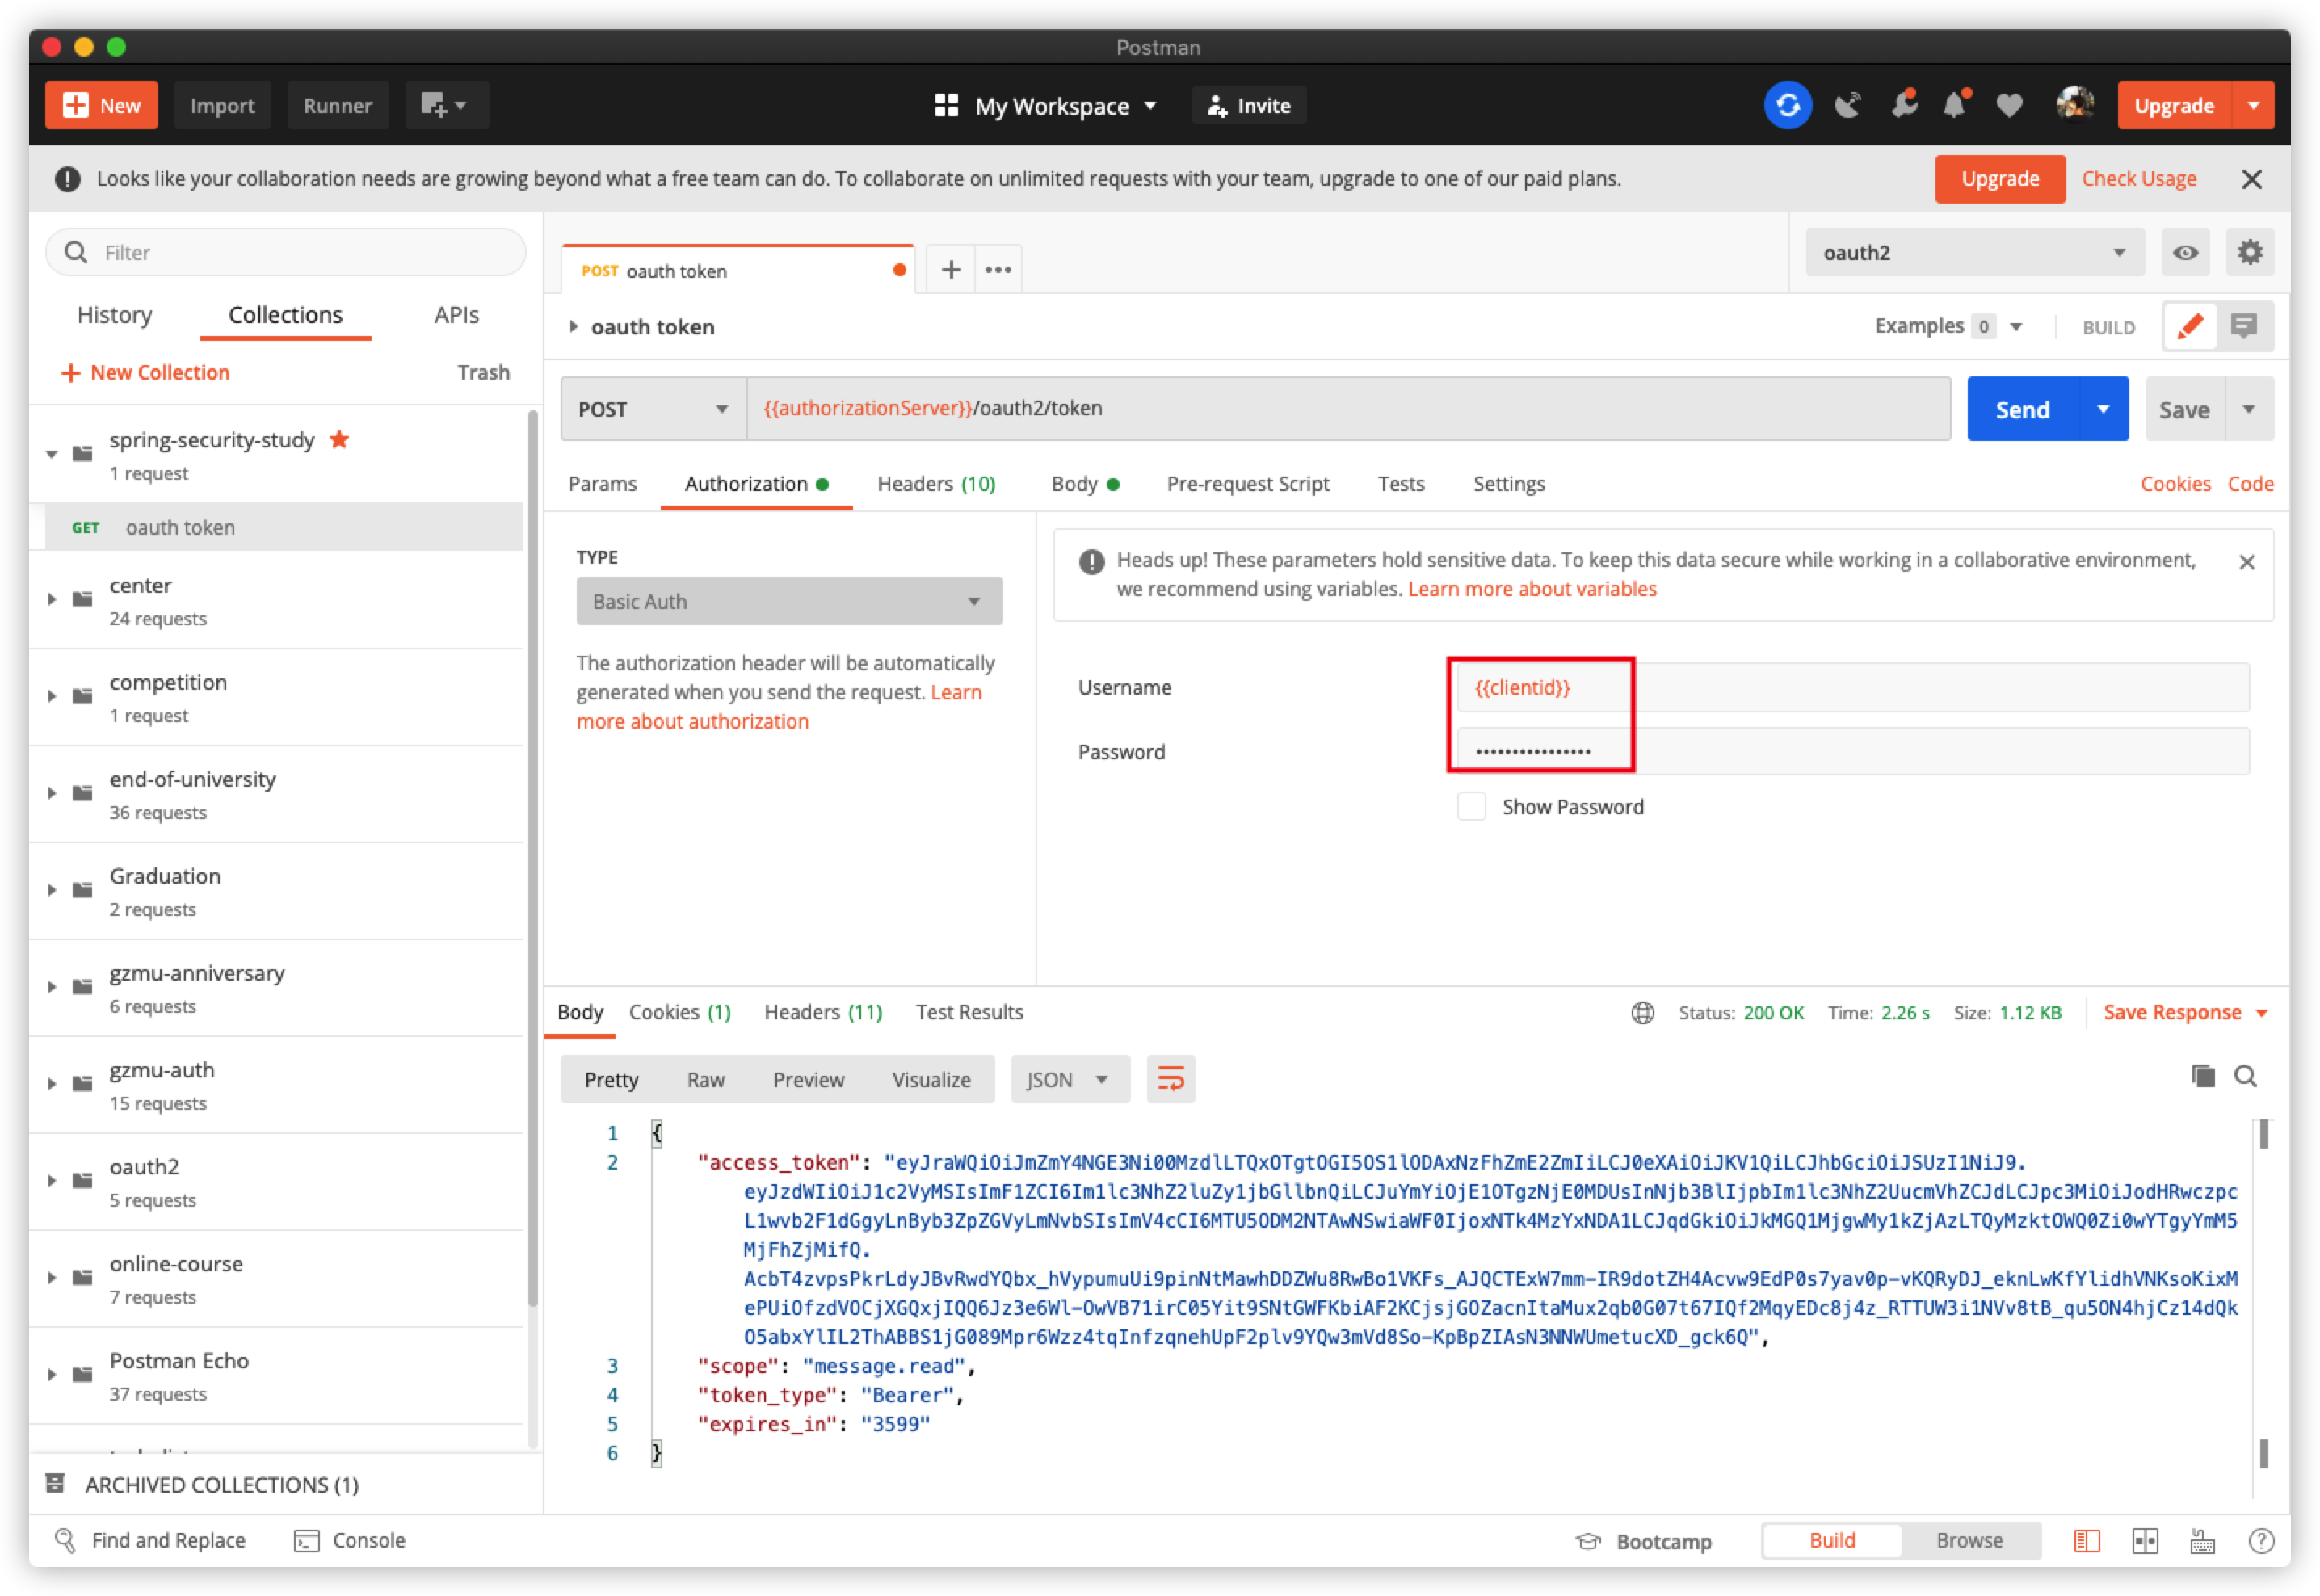
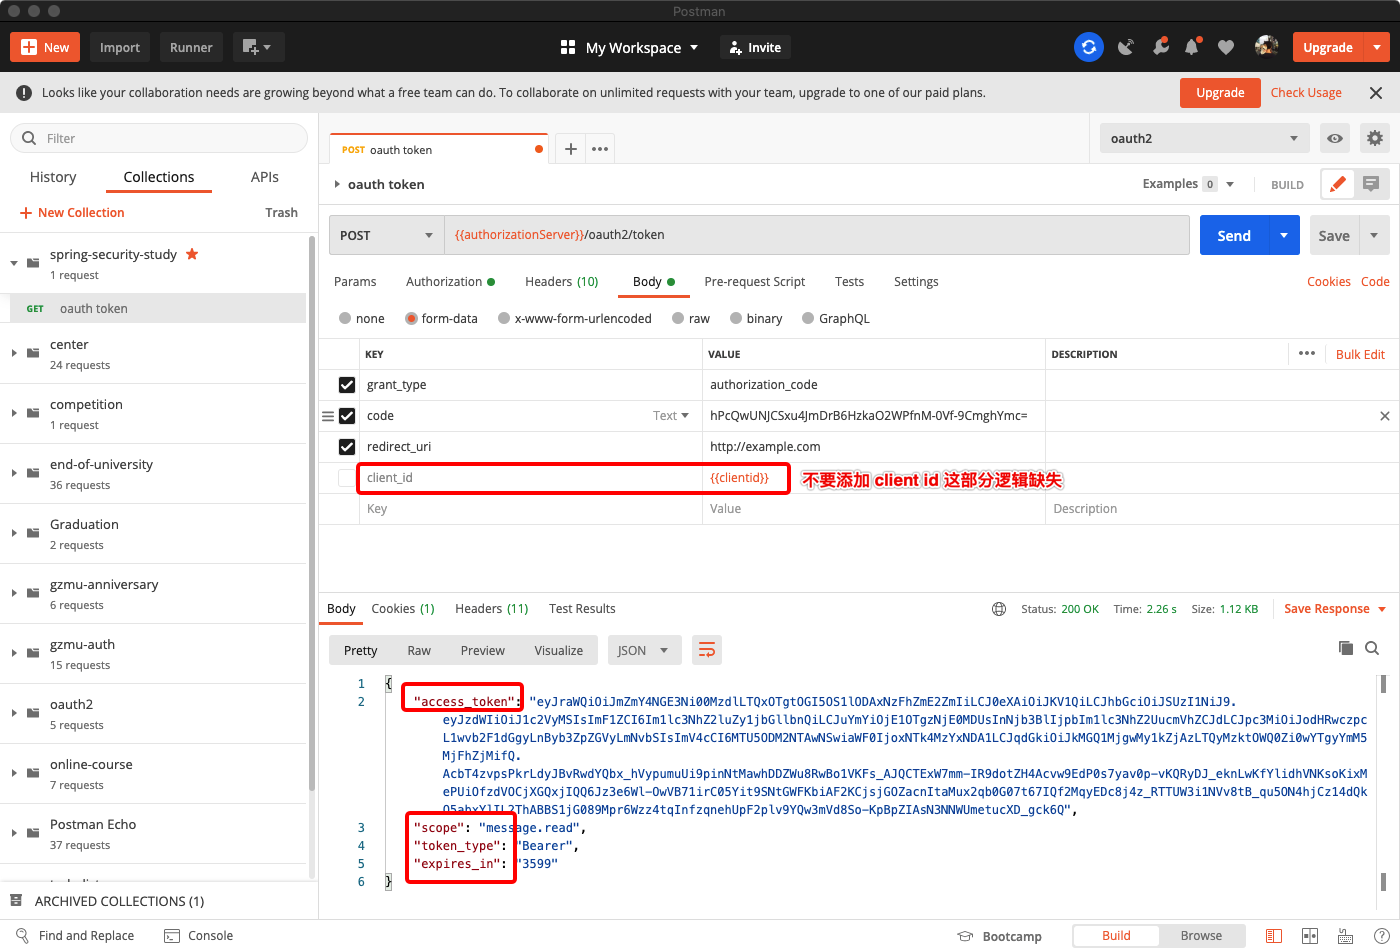
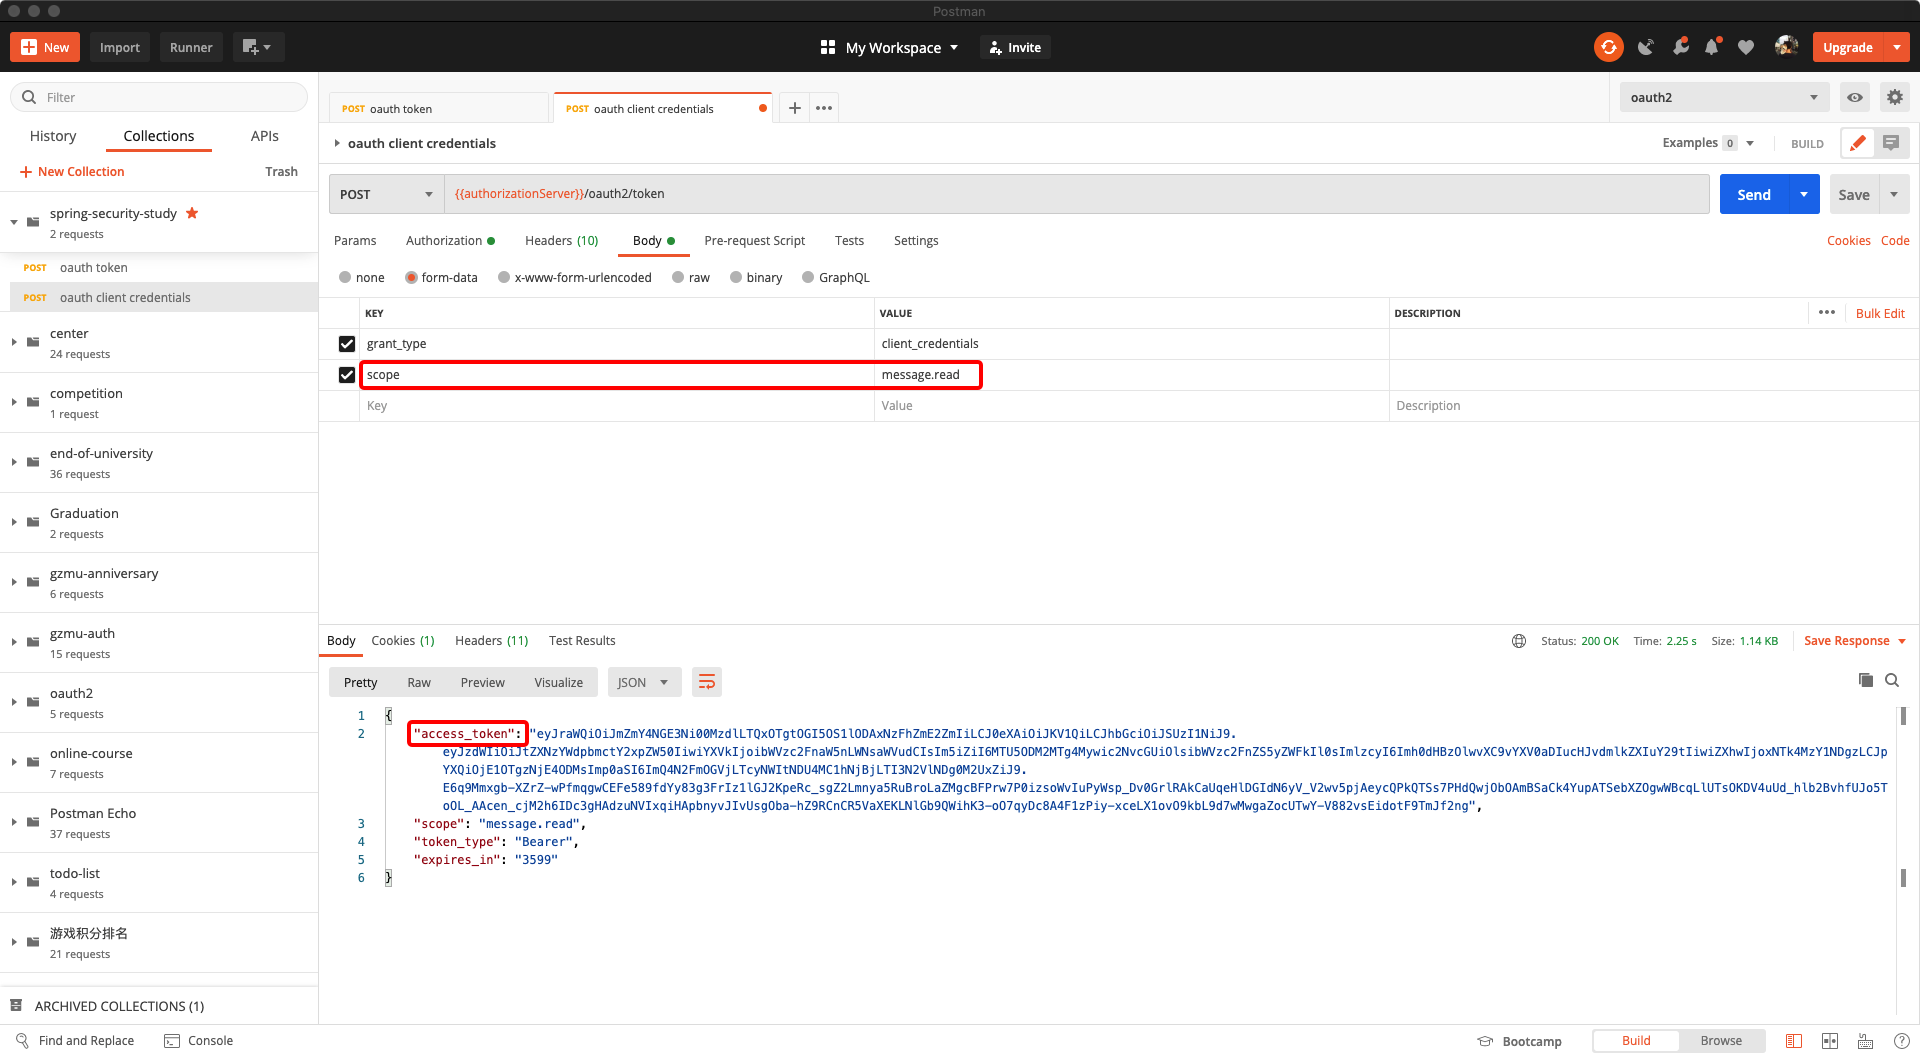
客户端模式
客户端模式没有什么好说的了,只验证请求头中的授权信息和 scope 而已。
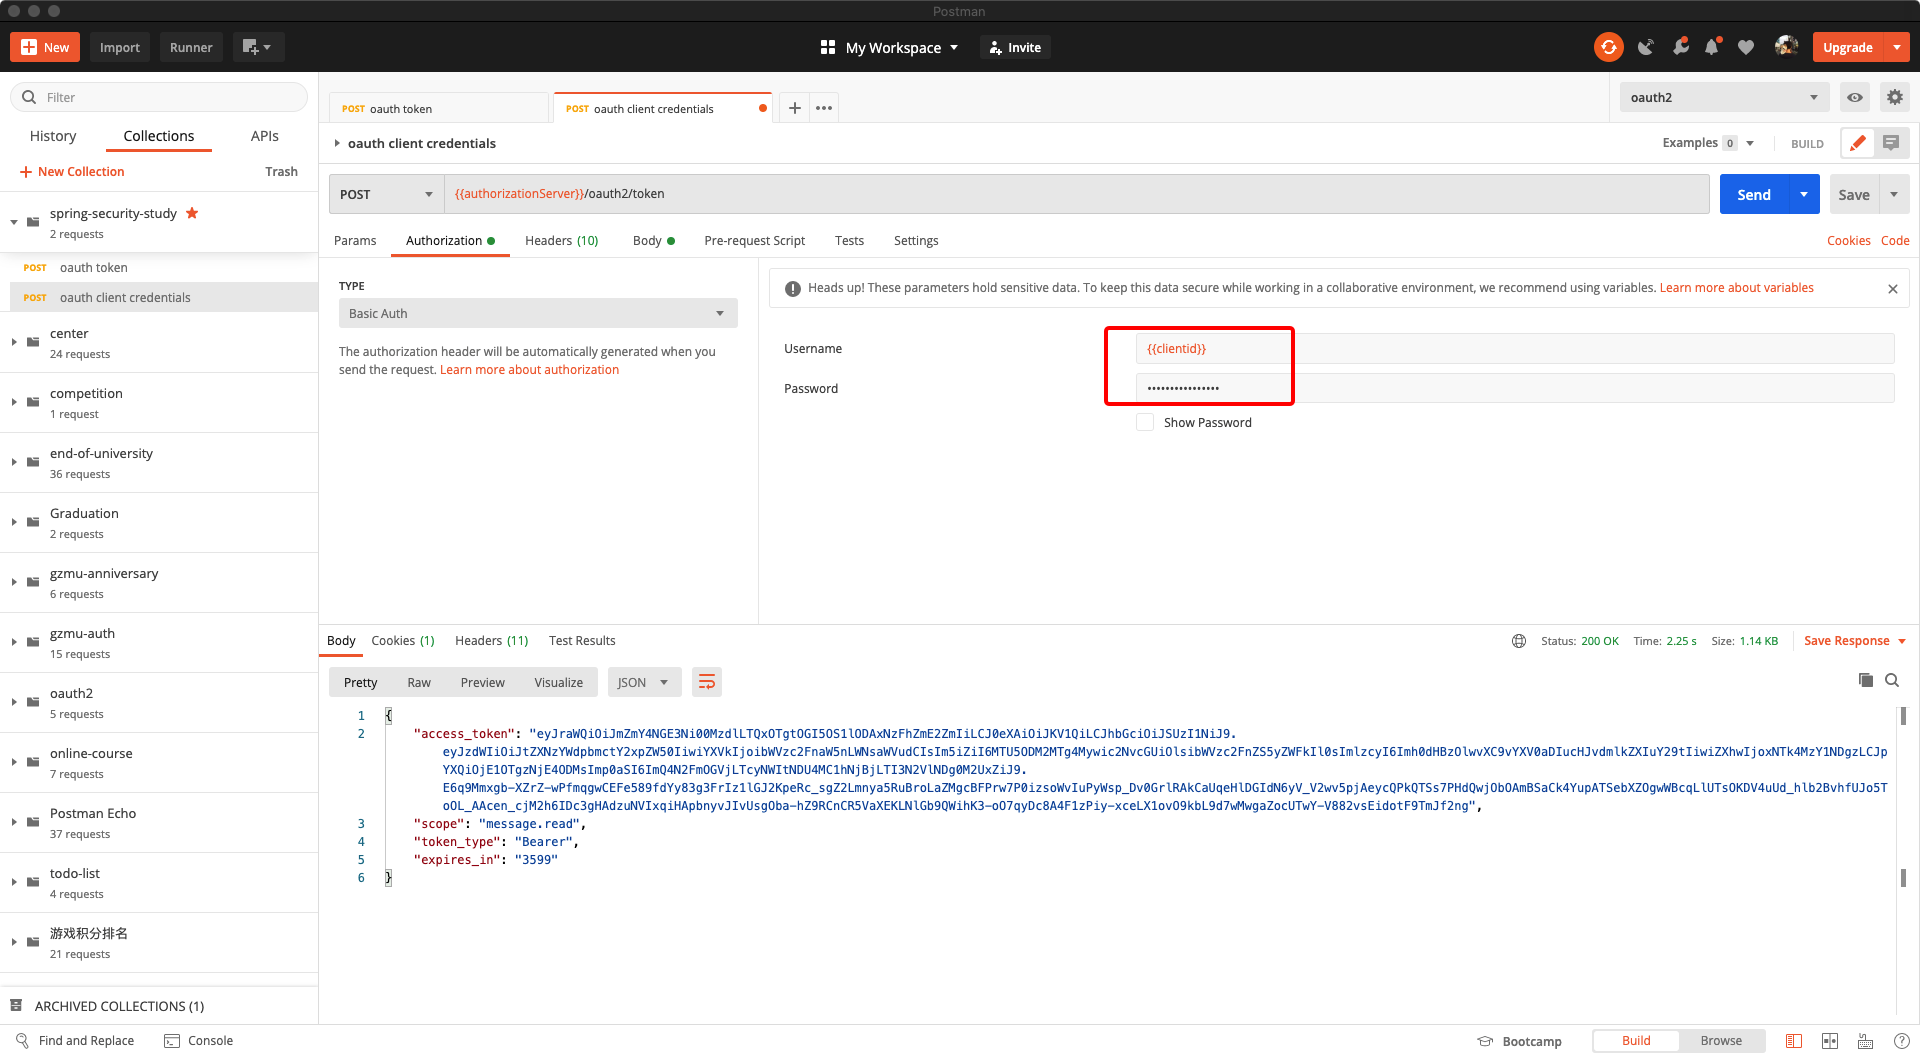
获取 token
JWK 端点
在新版中,我们不需要自己去配置 JWK
端点了,已经帮我们弄好了,可以直接访问 /oauth2/jwks 查看
{
    "keys":[
        {
            "kty":"RSA",
            "e":"AQAB",
            "use":"sig",
            "kid":"fff84a76-437e-4198-8b99-e80171afa6fb",
            "alg":"RS256",
            "n":"pfeYq-vtmSwnI0FWveVyCB8jcrsgnY81RDr00yfggj8bPe6T53yNO4ghoY4f3noSGuU1vcT_7dUIGOcFT6A2SN0Omyta5XaMNGJfLZd9QSGApi4zbsaizXsbRPRkAGlcdq3SCYTylHcSP2hhL_Kxco4ZGCdbKHJEQY0mIQyAGZDLm_VPVGjpImuuzLhF3BPGJQbIR7H7qBjPkJPsHfflXV2jndQi-QWckRi_oIU2wEzLSHFKFAOzWotJbd-4LDiedM_SN9834NO2TdZULbcwuY2_i09BKxHP6I6FzQbAQLsDI484UdLa5pZjJ9mJxIZp0Da6AzFHSHtO4oKoR0muew"
        }
    ]
}
简单解释下:
| Key | Value |
|---|---|
kty(Key Type) |
标识与密钥一起使用的加密算法族,如 |
use(Public Key Use) |
标识公钥的预期用途。``use''参数用于指示是否使用公钥加密数据或验证数据上的签名。 |
kid(Key ID) |
用于匹配特定密钥。 |
alg(Algorithm) |
标识要与密钥一起使用的算法。 |
e |
RSA Key 的公共指数 |
n |
RSA 私钥参数 |
JWK RSA 参考 RSA Private Key Representations and Blinding。
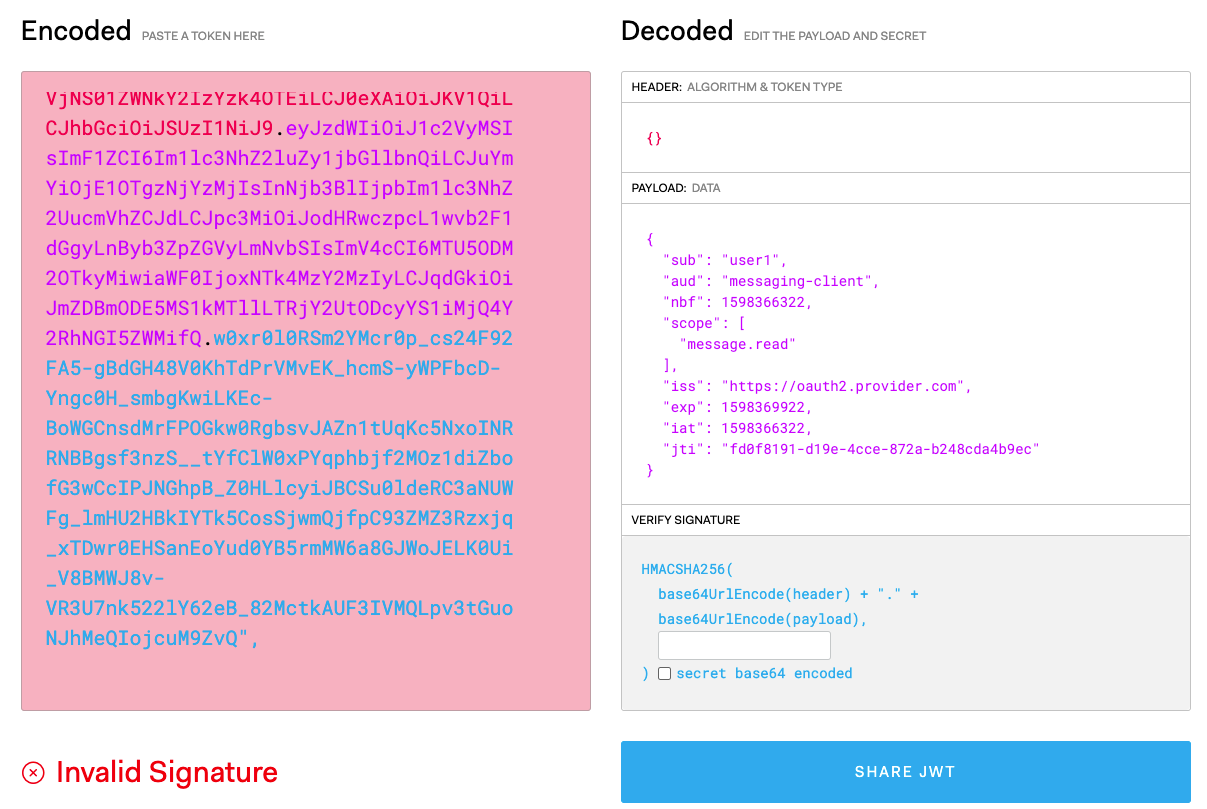
未使用 JWK 前进行验证 token
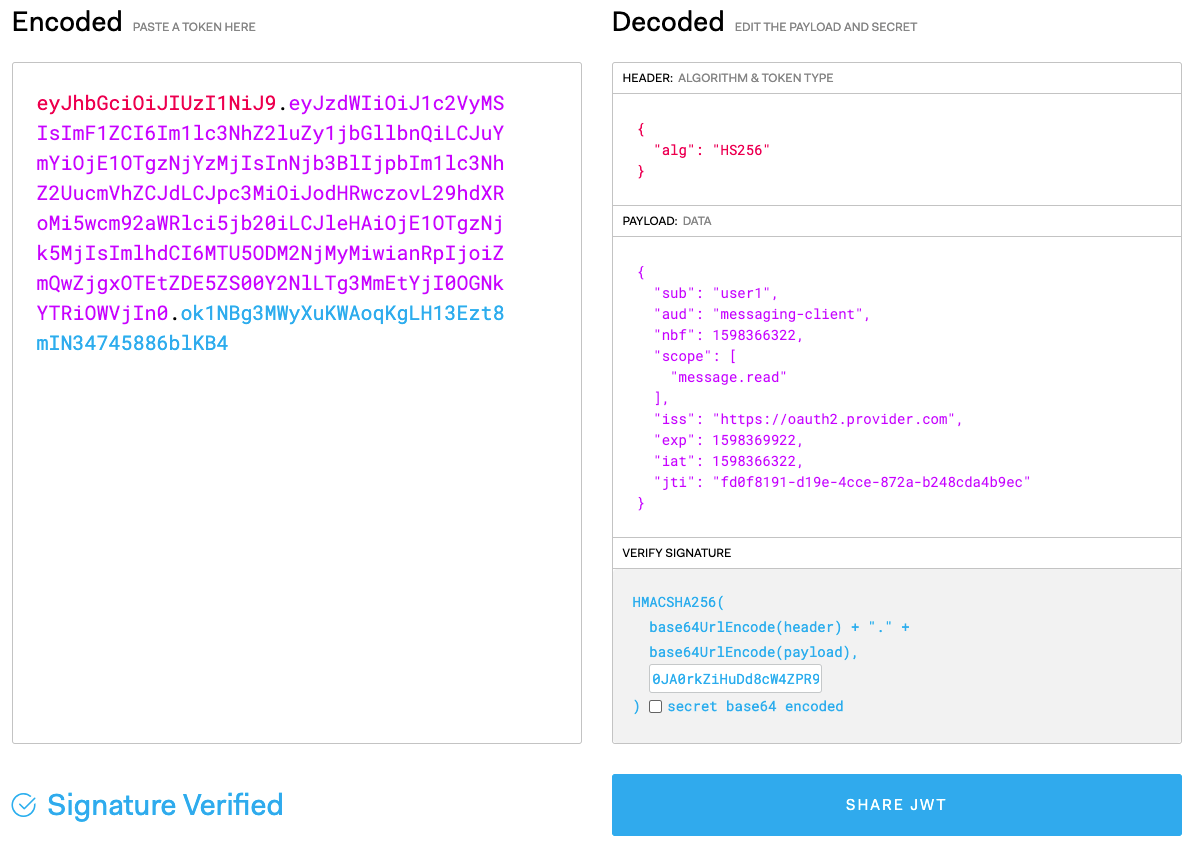
使用 JWK 进行验证 Token(在右下脚输入后,会自动更新左边的 JWS)
总结
先说说现在我发现的两个问题吧,见 issue 102.
-
回调地址中的
code是经过 URL 编码的,但是他并没有为我们解,需要每个客户端进行解码。 -
请求
/oauth2/token端点时,不能够携带client_id参数,如果携带了他授权的类型就是客户端的了, 源码中 getPrincipal() 得到的类型就是String的了。在 RFC-6749 section-4.1.3. 中提到
REQUIRED, if the client is not authenticating with the authorization server as described in Section 3.2.1.
如果在请求头中设置了客户端令牌,那么这个参数可以不需要。但是当我传递正确的客户端id的时候他应该忽视或者对他进行验证,而不是抛出错误给我,因为我的方式是没有问题的。
其他的慢慢测看看。而这次默认的就是使用了JWT作为签名,生成 JWS 作为 token。JWE 可能还需要等一段时间。